Share This Article
A fresh manicure always looks beautiful on day one, but the real challenge is keeping that shine intact. Within a few days, nails often start to look dull, uneven, and less polished. What most people don’t realize is that achieving a glossy, salon like finish at home isn’t about expensive tools or gel polish—it’s about technique.
This guide focuses on how to get that gel like, glossy look using regular polish, without a UV or LED lamp. When done correctly, even regular nail polish can create that smooth, reflective, almost glass-like finish that resembles gel. The secret lies in proper preparation, thin layering, and sealing everything with the right top coat.
Why Your Nails Lose That Gel Like Shine
If your nails lose their glossy, gel like finish after just a few days, the problem usually isn’t the polish—it’s the process behind it.
That smooth, reflective shine you love comes down to how evenly light hits your nails. When the surface is perfectly smooth, light reflects cleanly, giving that glassy look. But if there are bumps, uneven layers, or tiny imperfections, the reflection breaks and your nails start to look dull.
Some of the most common reasons include skipping proper nail prep, having an uneven nail surface, or applying thick layers of polish that trap air and don’t dry evenly. A weak or missing top coat can also reduce that final shine and protection.
If you want that gel like finish without using a lamp, every step matters. From prep to application to sealing—it all works together to create a smooth, glossy surface that actually lasts.
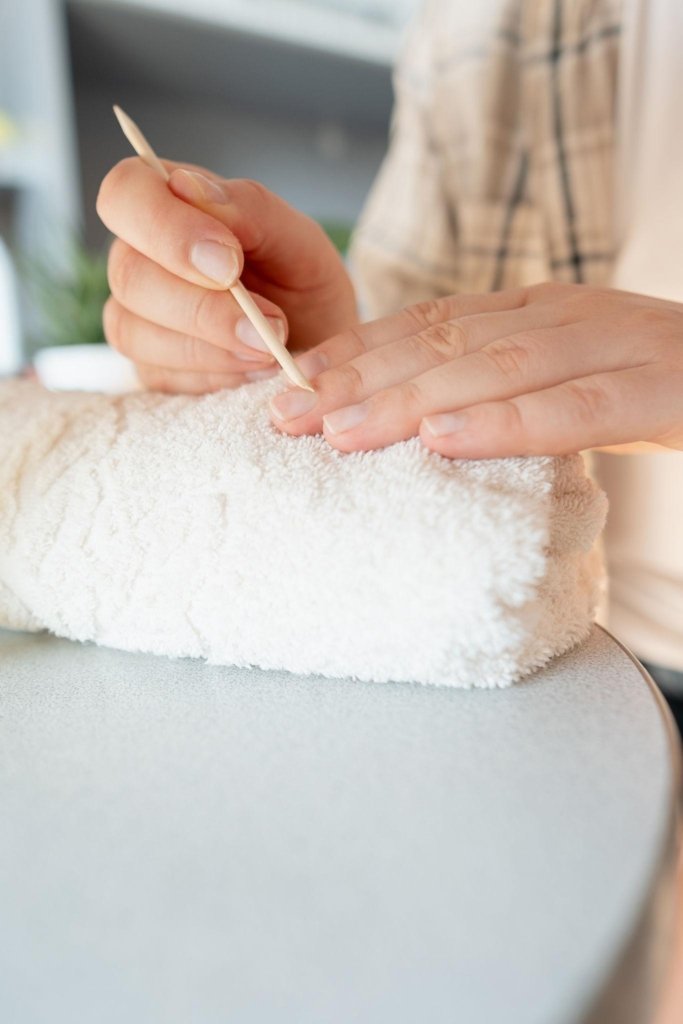
Nail Preparation: The Step That Controls Everything
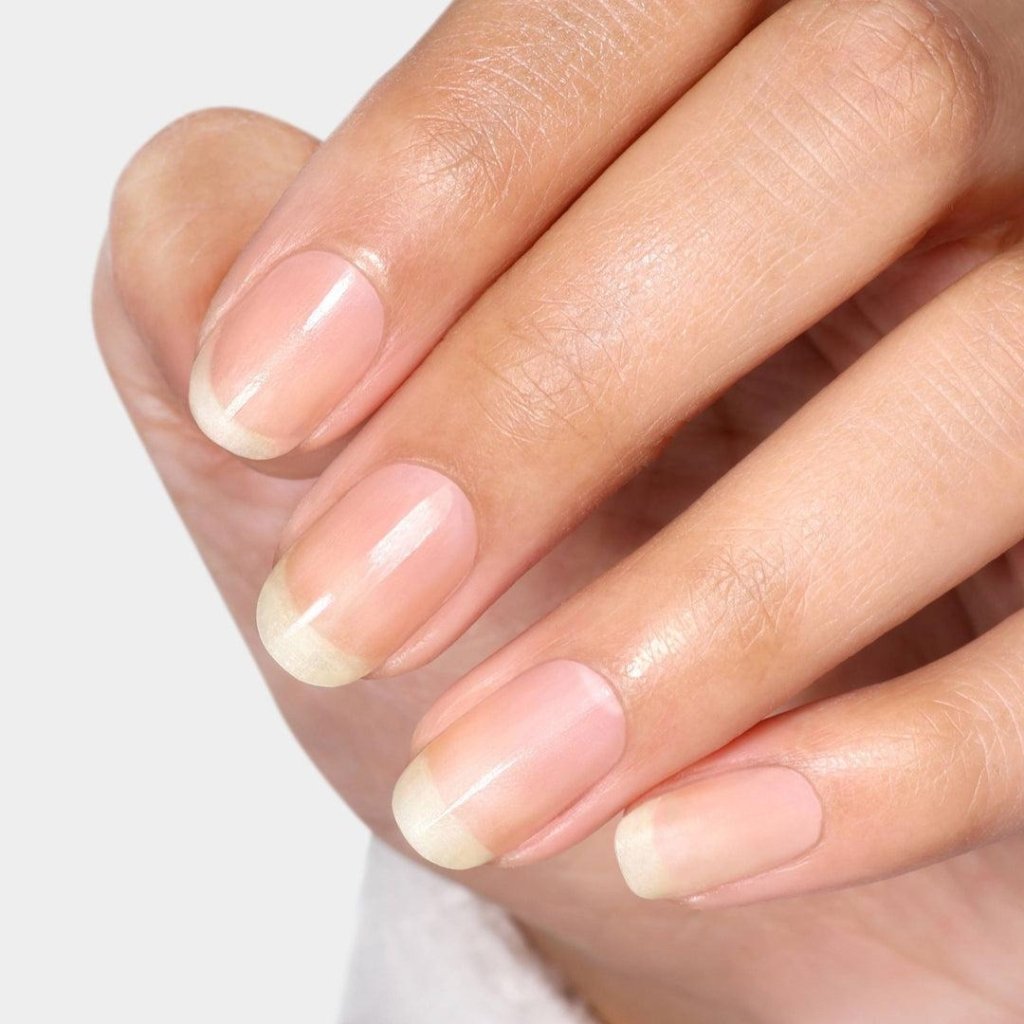
A gel manicure looks so glossy because the surface is perfectly smooth. To get that same effect with regular polish, your base needs to be just as even and clean.
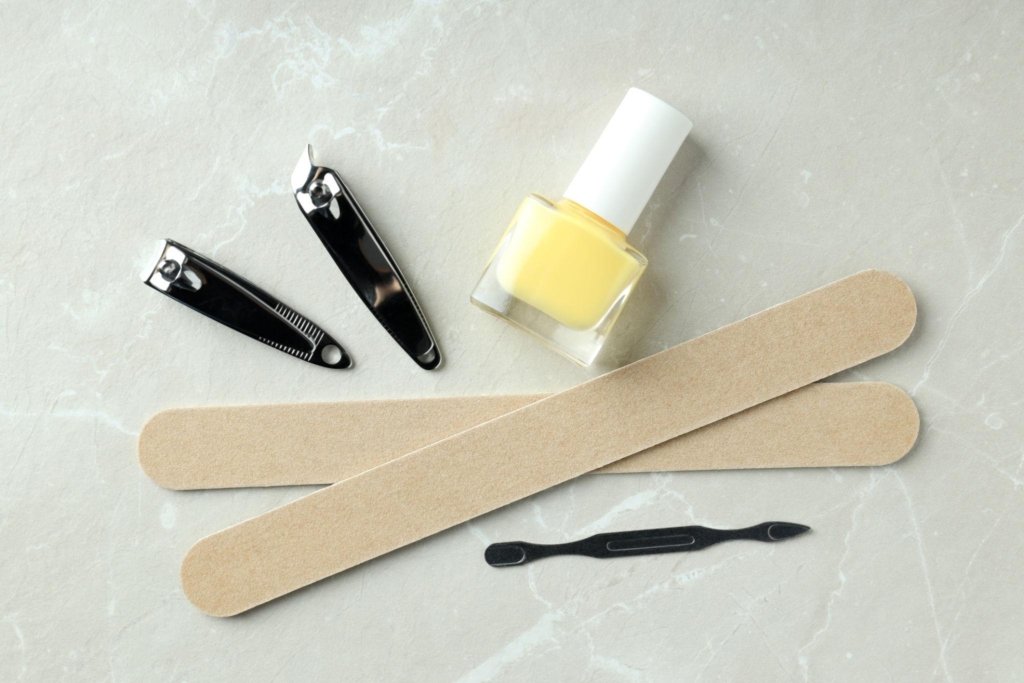
Start by shaping your nails with gentle, controlled strokes. A neat shape helps the polish glide on evenly and reflect light better. Using a soft tool like a nail file set helps you avoid rough edges that can ruin the finish.
Next, pay attention to your cuticles. If polish sits unevenly around them, it instantly breaks that smooth, glossy look. Gently push them back using the Tweezerman Dual Sided Pusher to create a clean, even surface.
Finally, remove any oil or residue from your nails using acetone or alcohol. This step is often skipped, but it makes a big difference. It helps the polish stick properly and lay flat, giving you that smooth, gel like base that holds its shine.
The Base Coat: Creating a Smooth Canvas
Every glossy, gel like manicure starts with a smooth base—and this step makes more difference than most people realize.
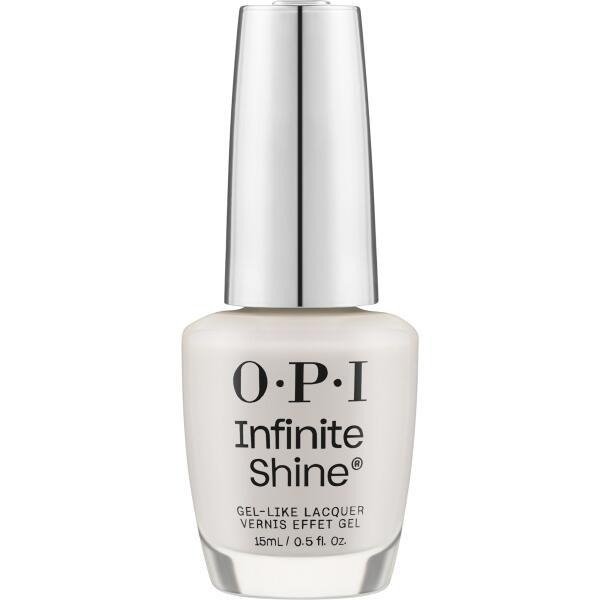
A good base coat helps fill in tiny ridges on your nails and creates an even surface for the polish to sit on. Without it, the polish can look uneven, and that clean, reflective shine just won’t come through. Use a strengthening base like this:

Apply one thin layer of a nail base coat and give it about a minute to dry. It might feel like a small step, but it sets the tone for everything that follows.
When your base is smooth, your polish applies better, looks more even, and reflects light properly—giving you that glass like finish you’re aiming for.
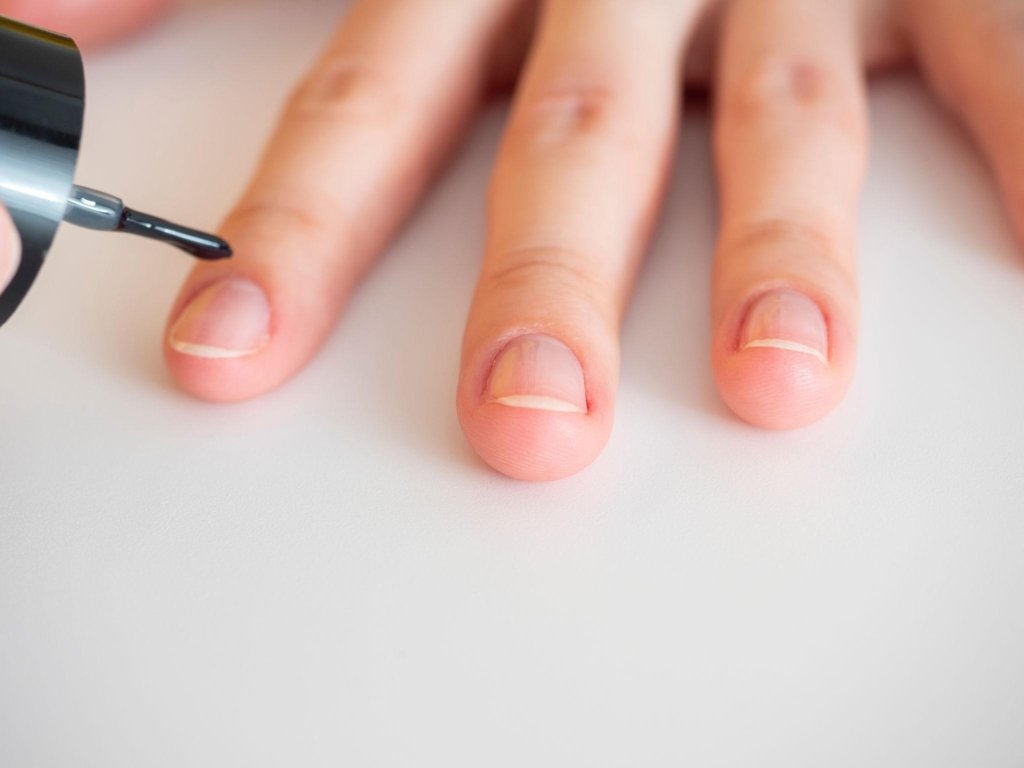
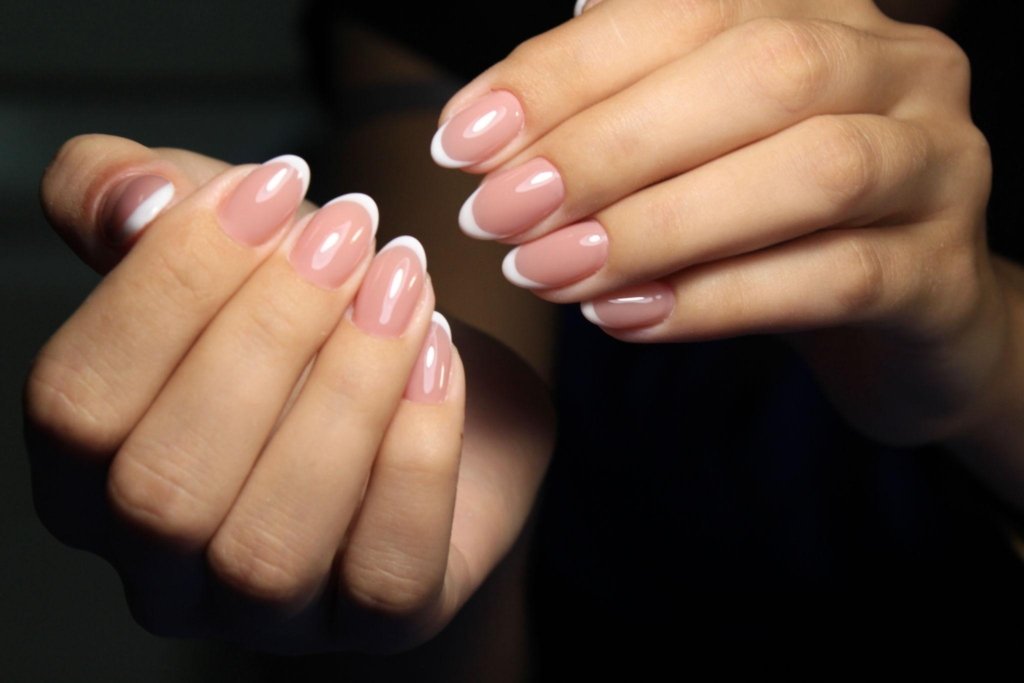
Color Application: Thin Layers for Maximum Shine
This is the step where most people unintentionally lose that gel like finish.
It’s tempting to apply thick layers to save time, but that often backfires. Thick polish creates an uneven surface, traps air, and prevents the nail from drying smoothly, all of which reduce that clean, glossy shine.
Instead, go for two thin coats. Thin layers dry more evenly, build a smoother surface, and help the final top coat reflect light properly for that polished, glass like effect.
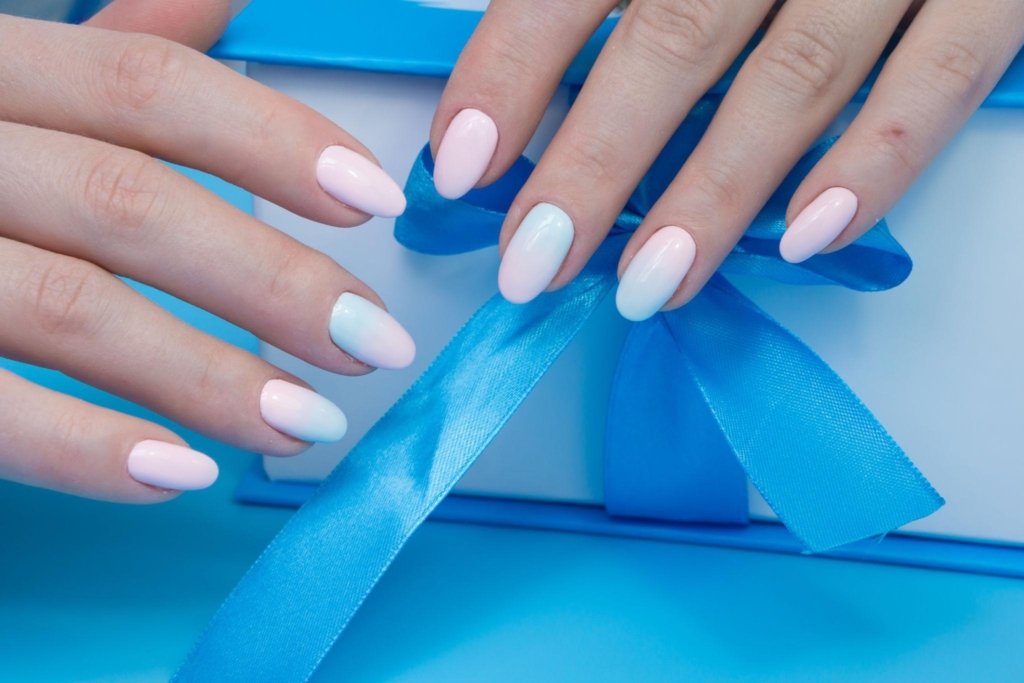
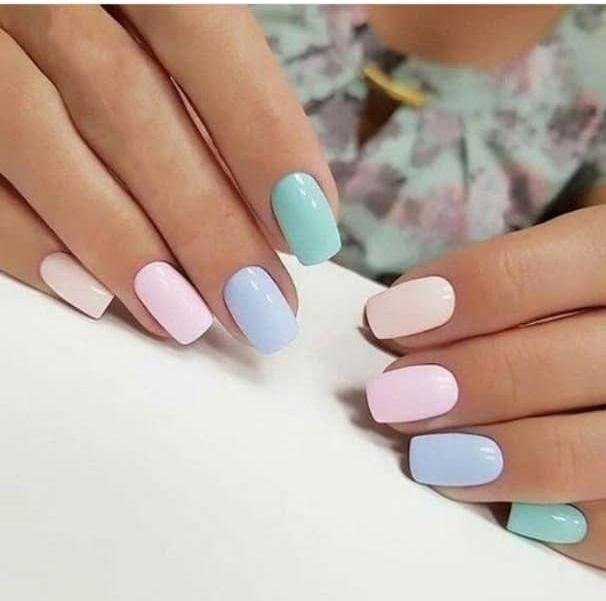
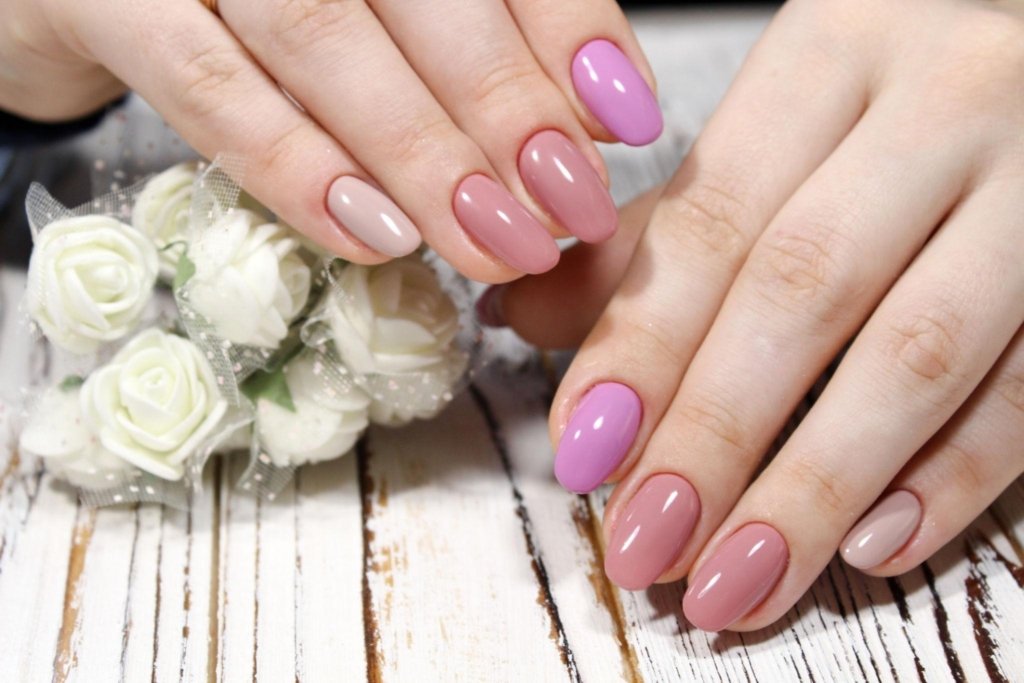
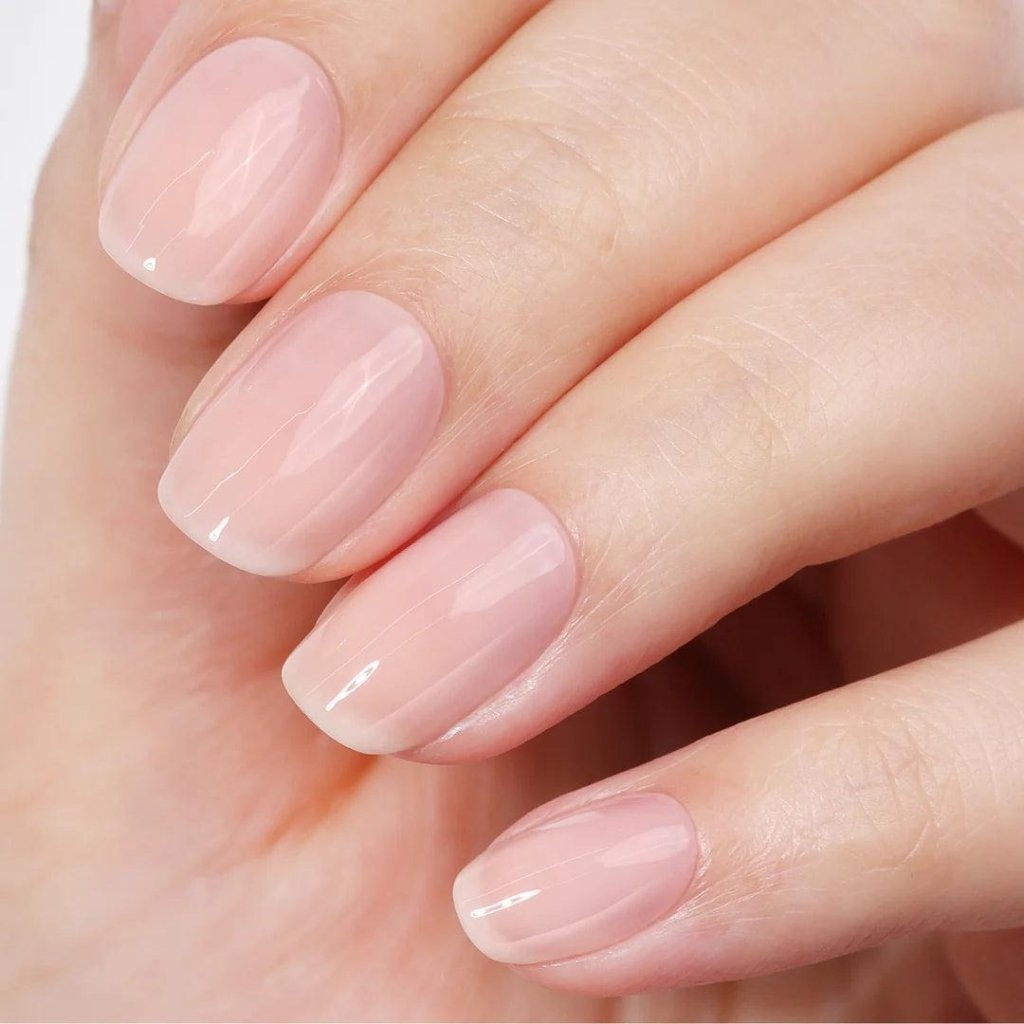
If you want an extra boost in shine, lighter shades like soft pinks, light blues, and neutral tones are especially good because they naturally reflect light better and enhance the glossy finish. Try Essie Gel Couture Long-Lasting Nail Polish.
Make sure to wait about 30 seconds between each coat. This small pause allows each layer to settle properly, helping you achieve that smooth, gel like look that lasts longer and looks more refined.
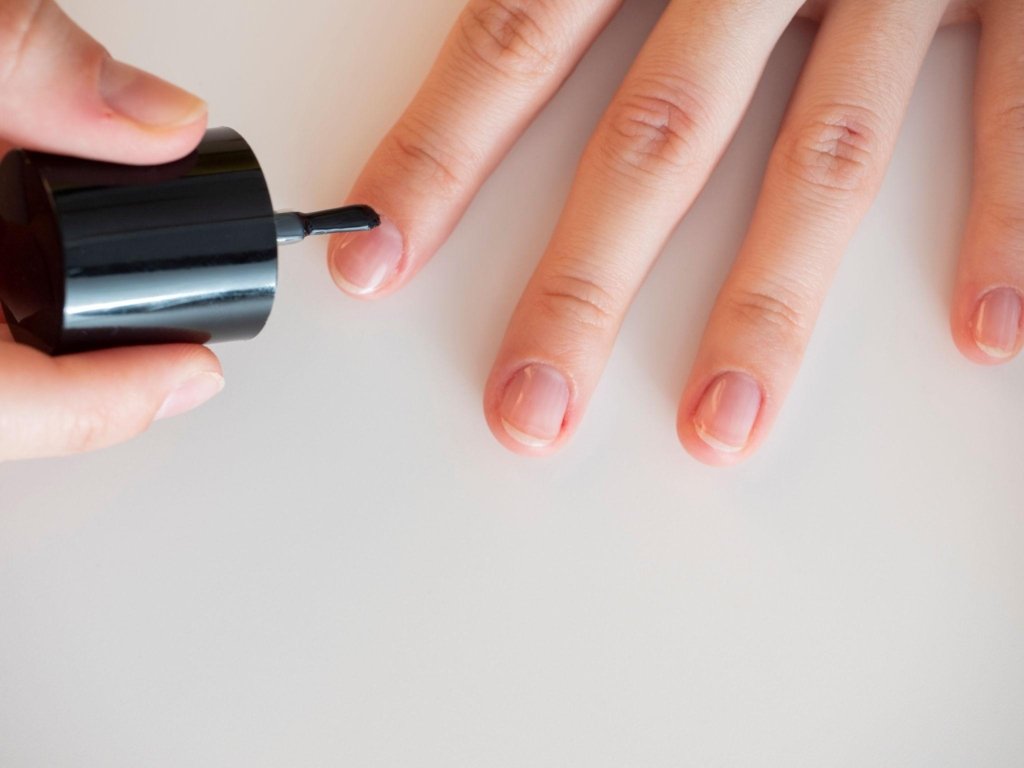
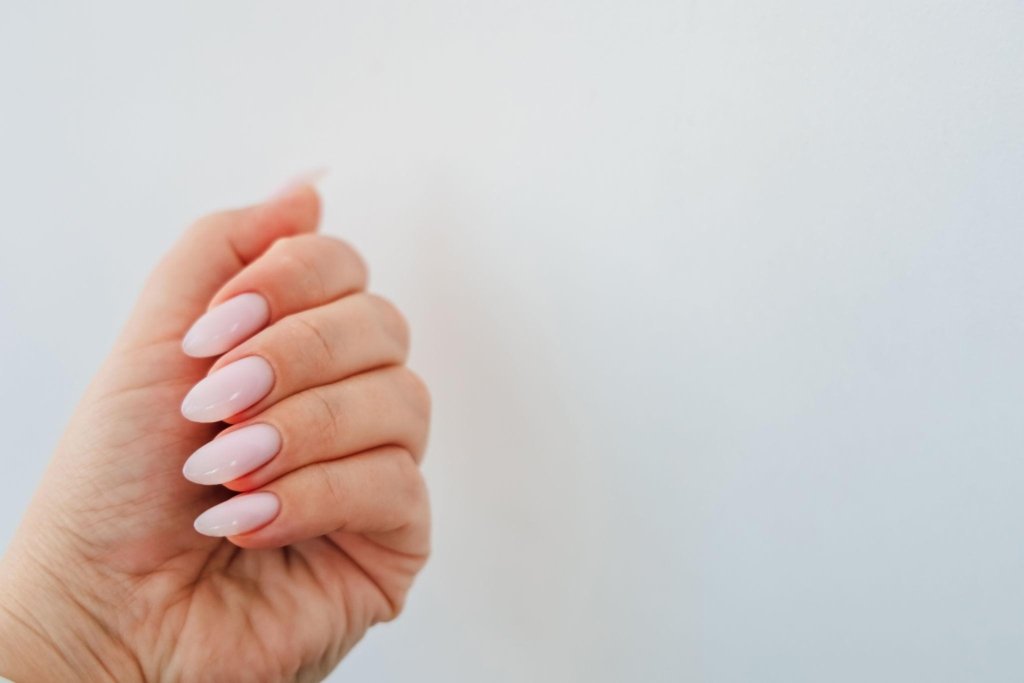
The Top Coat: What Creates the Gloss
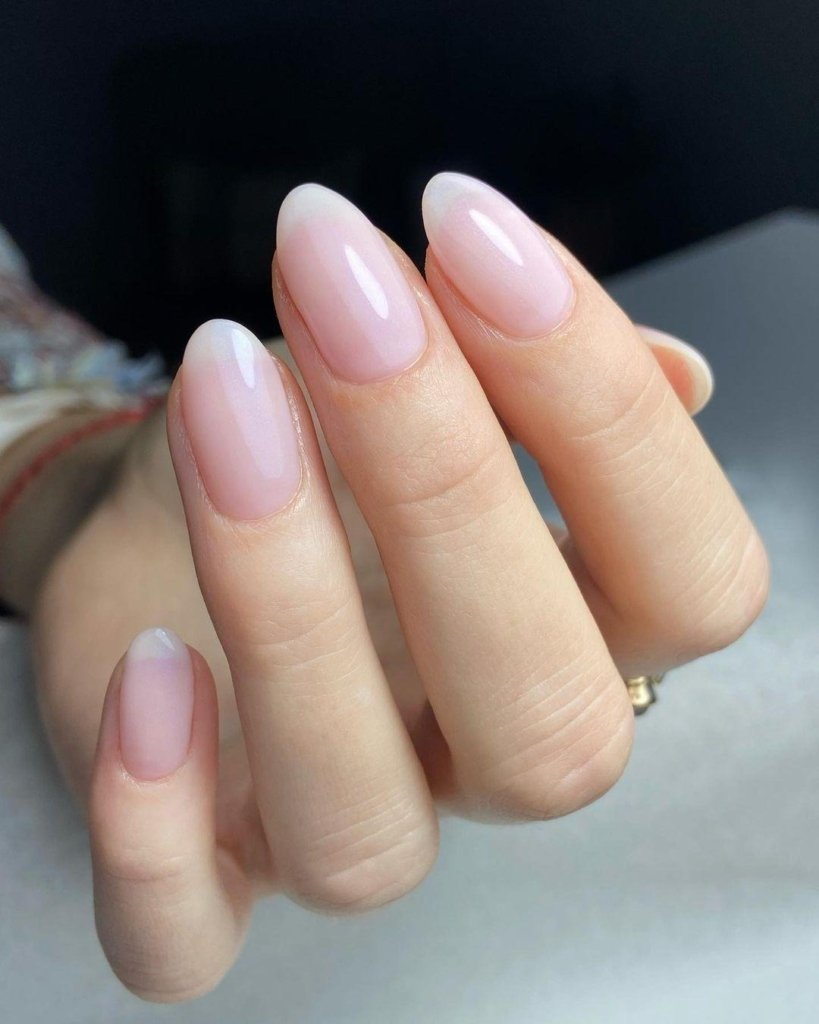
If there’s one step that truly creates that gel like finish, it’s the top coat.
A good quality top coat forms a smooth, glossy layer over your polish, sealing everything underneath. This is what gives nails that reflective, almost “wet look” shine that feels freshly done.
Apply one even layer and make sure to seal the edges of your nails. This helps lock in the color, prevents chipping, and keeps the surface smooth for longer-lasting shine.
To maintain that gel like effect over time, you can also refresh your manicure by applying a thin layer of top coat every 4–5 days. This simple step revives the shine and brings back that just-done glossy finish without redoing your nails completely.
Drying the Right Way
Even a perfectly applied manicure can lose its shine if the drying process is rushed.
After applying your top coat, let your nails air dry for at least 10–15 minutes. This gives each layer enough time to settle and form a smooth, even surface.
Try to avoid direct heat or quick dry hacks right away, as they can create tiny bubbles or disturb the finish. These small imperfections can break that clean, glossy look.
Natural drying may take a little more time, but it helps the polish level out properly, keeping your nails looking smooth, reflective, and gel like for longer.
This lovely spray will assist you in drying your nails faster.
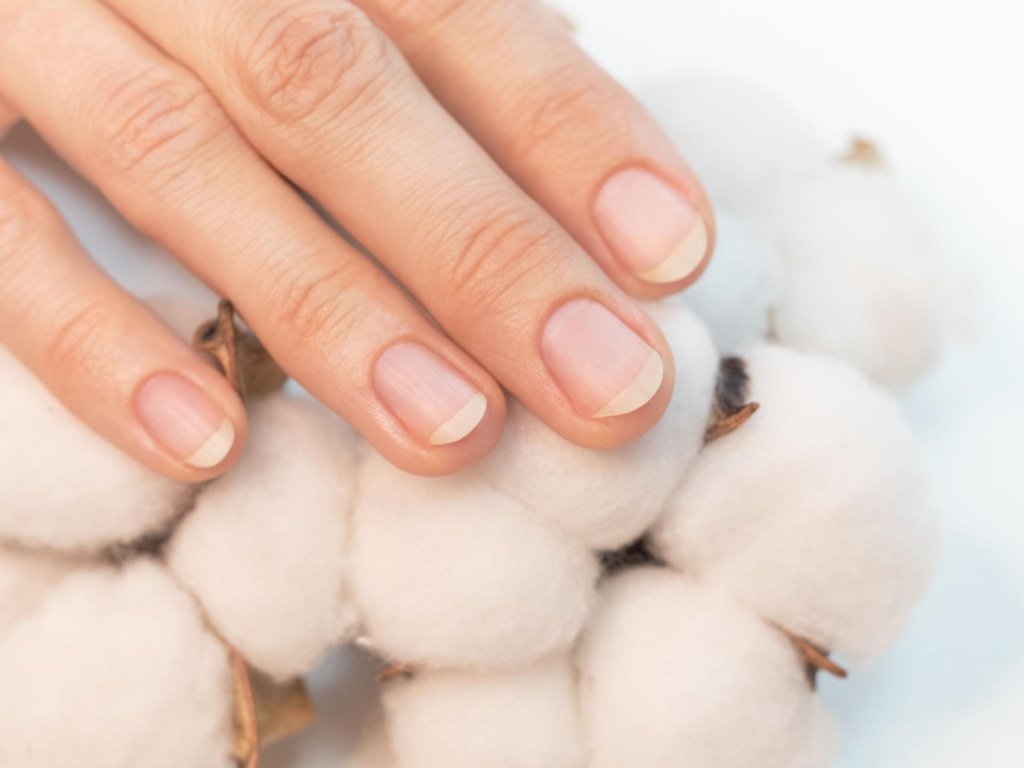
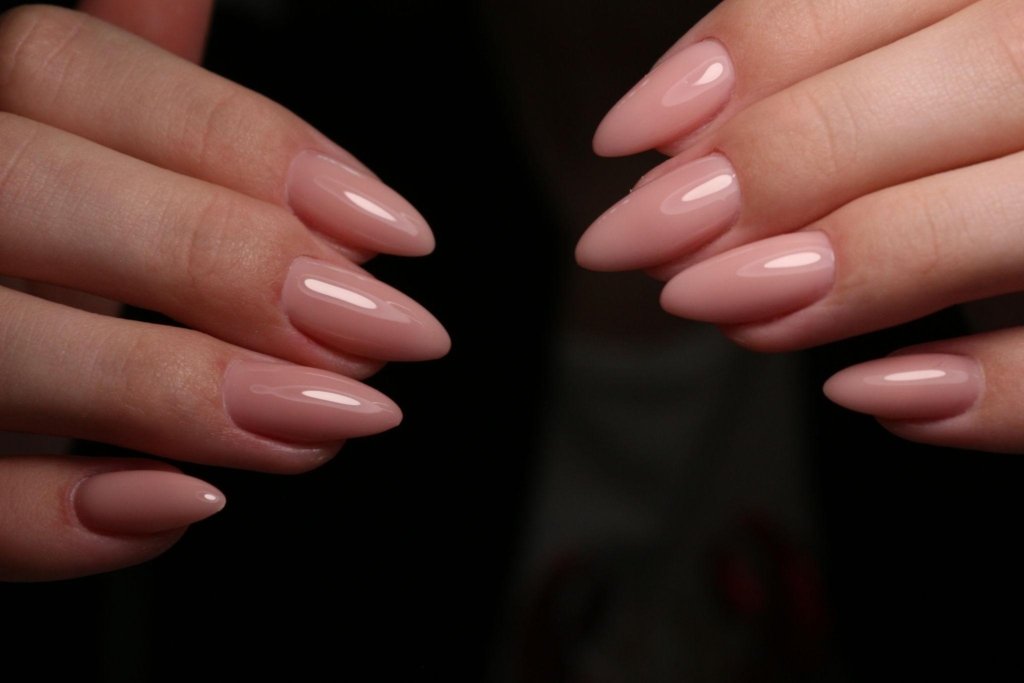
How to Keep That Glossy Finish for Days
Getting that glossy, gel like shine is great—but keeping it looking fresh for days is where the real difference shows.
A few simple habits can go a long way in maintaining the finish. Try to avoid hot water right after your manicure, as it can weaken the polish and reduce shine. Keeping your nails clean and dry also helps preserve that smooth surface.
Using cuticle oil daily is another easy step—it keeps the nail area hydrated and makes your manicure look fresher for longer. And when doing chores or cleaning, wearing gloves protects your nails from water and harsh products that can dull the shine.
These small habits work together to protect the glossy surface, helping your nails stay smooth, bright, and gel like for much longer.
How It Creates a Gel Like Look Without a Lamp
A true gel manicure gets its shine from a thick, smooth, and evenly cured surface that reflects light beautifully.
While regular nail polish doesn’t harden in the same way, you can still recreate that same glossy effect by focusing on how each layer is built.
A smooth nail base ensures even light reflection, thin polish layers prevent bumps and trapped air, and a strong top coat seals everything with a glossy finish.
When these steps come together, they create a clean, glass-like surface that closely mimics a gel manicure—without needing any UV or LED lamp.
Mistakes That Ruin the Gel Like Effect
Even small mistakes can easily break that smooth, glossy finish and make your manicure look dull much faster than expected.
One of the most common errors is skipping the base coat, which leads to an uneven surface. Applying thick layers of polish is another issue—it prevents proper drying and creates a rough texture instead of a smooth shine. Not giving each layer enough time to dry can also trap moisture and ruin the final look.
Ignoring cuticle prep affects how clean and even the polish appears, while skipping top coat reapplication allows the shine to fade quickly over time.
Avoiding these simple mistakes helps keep your nails smooth, reflective, and consistently gel like for longer.
Final Thoughts
Getting glossy nails that look like gel isn’t about using expensive products—it’s about getting the basics right with care and consistency.
When you focus on building a smooth nail surface, applying thin and even layers, and sealing everything properly with a good top coat, you naturally create that clean, glass like shine.
The best part is that you don’t need a UV lamp or a salon visit to achieve it. With the right technique, regular nail polish can easily give you that same polished, gel like finish.
Once you follow the process properly, your nails don’t just look good on day one—they stay glossy, fresh, and well finished for days.