
Share This Article
If you’ve ever wondered how some people get that bouncy, shiny, expensive-looking blowout that lasts for days, the secret isn’t just the styling tool. It’s the preparation, product layering, and setting process. This routine combines Olaplex repair products, volumizing mousse, heat protection, a thermal brush, and rollers to create maximum volume and movement.
Step 1: Wash Your Hair
Start with freshly washed hair.
I use:
Olaplex No. 4 Bond Maintenance Shampoo
Olaplex No. 5 Bond Maintenance Conditioner

Massage the shampoo into your scalp and rinse thoroughly. Follow with the conditioner, focusing on the mid-lengths and ends before rinsing completely.
Gently squeeze excess water from your hair using a microfiber towel. Avoid rough towel drying, which can create frizz.
Step 2: Apply Olaplex No. 6
Before your hair starts drying, apply:
Olaplex No. 6 Bond Smoother
Work a small amount through the mid-lengths and ends of your hair.
This helps smooth frizz, add softness, and improve manageability before styling.
Step 3: Apply Olaplex No. 7 Oil
Next, apply:
Olaplex No. 7 Bonding Oil
Use just a few drops and distribute evenly throughout your hair.
This step adds shine, helps reduce frizz, and gives the finished blowout a healthier appearance.
Step 4: Apply Volumizing Mousse
This is one of the most important steps if you want lasting volume.
Apply:
Color Wow Xtra Large Bombshell Volumizer Mousse
Focus especially on the roots, crown, and upper layers of your hair.
Work the mousse through evenly using your fingers.
Skipping mousse often means losing volume within a few hours, so don’t be shy with this step.
Step 5: Protect Your Hair from Heat
Before using any hot styling tools, apply a heat protectant.
I use:
K18 Heat Protectant
Mist evenly throughout your hair, paying attention to the lengths and ends.
This helps protect the hair from heat damage while maintaining softness and shine.
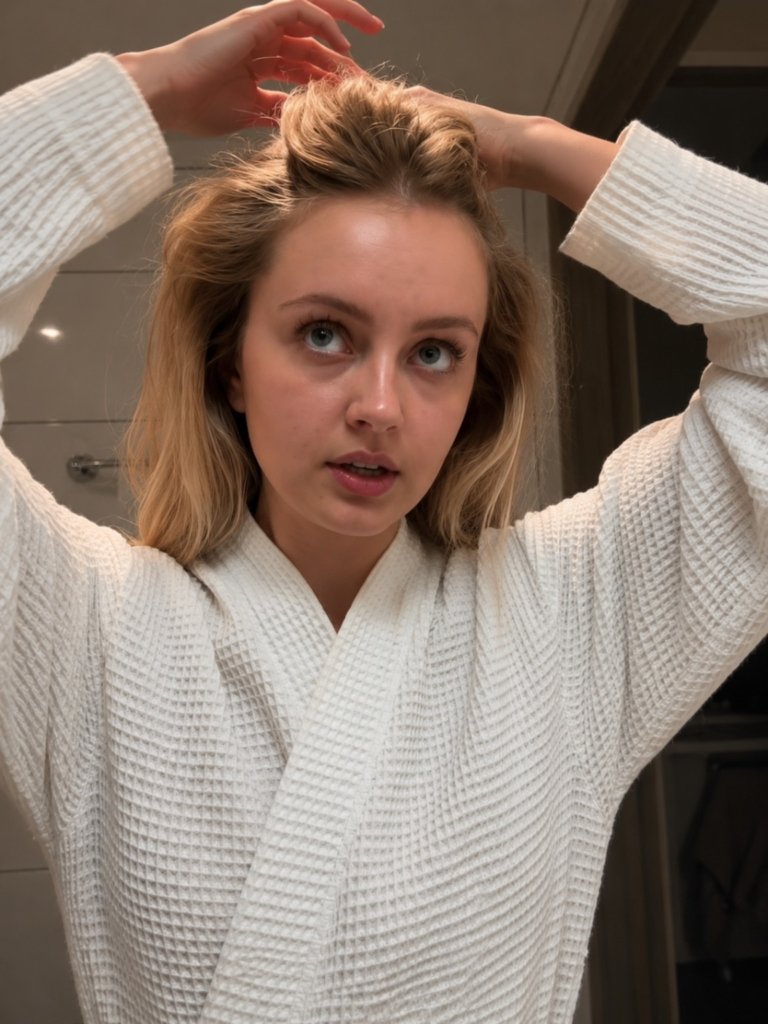
Step 6: Blow Dry Upside Down
Flip your head upside down and begin blow drying your hair using medium heat.
Focus on lifting the roots while drying.
This creates the foundation for long-lasting volume and prevents the hair from drying flat against the scalp.
Continue until your hair is approximately 80–90% dry.
Flip your head upright and finish drying completely.
Step 7: Section Your Hair
Once your hair is fully dry, divide it into four sections:
- Front left
- Front right
- Back left
- Back right
Secure each section with clips.
Leave your bangs and face-framing pieces out of the sections because they will be styled separately.
Proper sectioning makes the styling process easier and helps create a more professional-looking result.
Step 8: Create the Blowout
Using a thermal brush, style one section at a time.
Wavytalk Thermal Brush
Starting at the roots, slowly pull the brush through the hair while rotating slightly to create lift and movement.
Focus on directing the hair upward and away from the scalp.
Work through all four sections until your hair looks smooth, polished, and full of body.
Step 9: Style the Bangs Separately
For the bangs and front pieces, use the thermal brush to direct the hair away from the face.
This creates the soft face-framing effect commonly seen in professional blowouts.
Take your time with this section because it has the biggest impact on the finished look.
Step 10: Set the Hair with Rollers
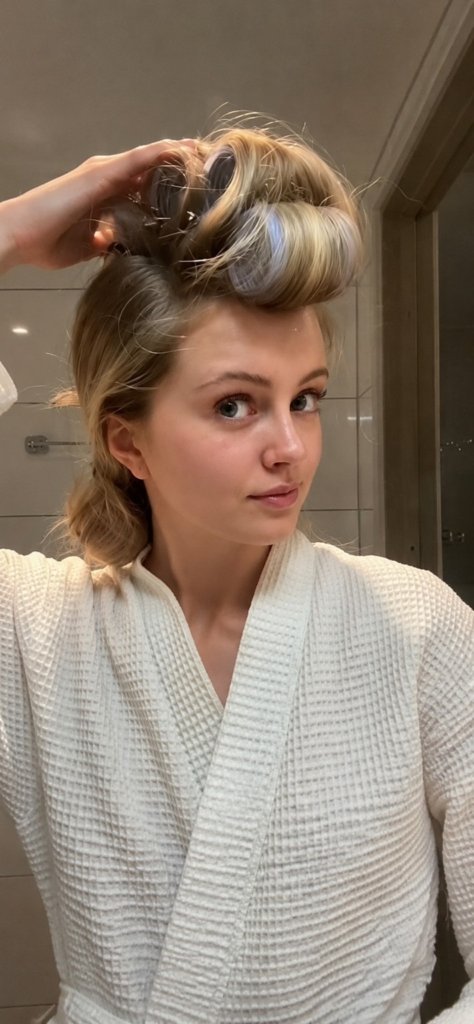
Immediately after styling each section, wrap the warm hair around a roller.
Hair Rollers
Secure the roller firmly.
Continue until all sections have been rolled.
For maximum volume, position the rollers high on the head rather than allowing the hair to hang downward.
The goal is to keep the roots lifted while the hair cools.
Step 11: Leave the Rollers In as Long as Possible
This step is what transforms a regular blowout into a salon-quality blowout.
Leave the rollers in for as long as possible.
Good results start at around 30 minutes, but the longer they stay in, the better.
One hour is great.
Two hours is even better.
Several hours is ideal.
Some people even leave them in while doing their makeup, getting dressed, or working from home.
The longer the hair cools in the roller shape, the more volume and longevity you’ll get.
Step 12: Remove the Rollers
Carefully remove the rollers one at a time.
Do not pull or tug the hair.
Allow the curls to fall naturally.
At first, the curls may look tighter than expected. This is completely normal.
Step 13: Brush Out and Finish
Using a soft brush, gently brush through the curls.
The curls will relax into soft waves with plenty of movement and volume.
If desired, apply one final drop of Olaplex No. 7 Oil to the ends for extra shine.
The result is a glossy, bouncy, salon-style blowout with long-lasting volume that looks expensive and effortless.
How to Make Your Blowout Last for Days
If you want your blowout to look fresh for as long as possible, a few simple habits can make a huge difference.
Before bed, gently gather your hair into a loose high ponytail on top of your head using a silk scrunchie. This helps preserve volume at the roots and prevents the hair from being flattened while you sleep. Cover your hair with a silk or satin bonnet, or sleep on a silk pillowcase to reduce friction and frizz overnight.
Humidity is one of the biggest enemies of a blowout. Avoid getting your hair damp, use a shower cap when bathing, and if the weather is hot or humid, keep the air conditioning on whenever possible. Moisture in the air can quickly cause the style to fall flat.
The next morning, gently brush through your hair and touch up any sections that need extra shape using your thermal brush. A light mist of flexible-hold hairspray can help refresh the style and maintain volume throughout the day without making the hair feel stiff.
Bonus Hair Care Tip
If you regularly heat style your hair, adding a weekly hair mask can help keep your hair soft, shiny, and healthy.
I recommend:
Olaplex No. 8 Bond Intense Moisture Mask
Use it once a week after shampooing and leave it on for about 10 minutes before rinsing. It helps add moisture, softness, and shine while making future blowouts smoother and easier to achieve.